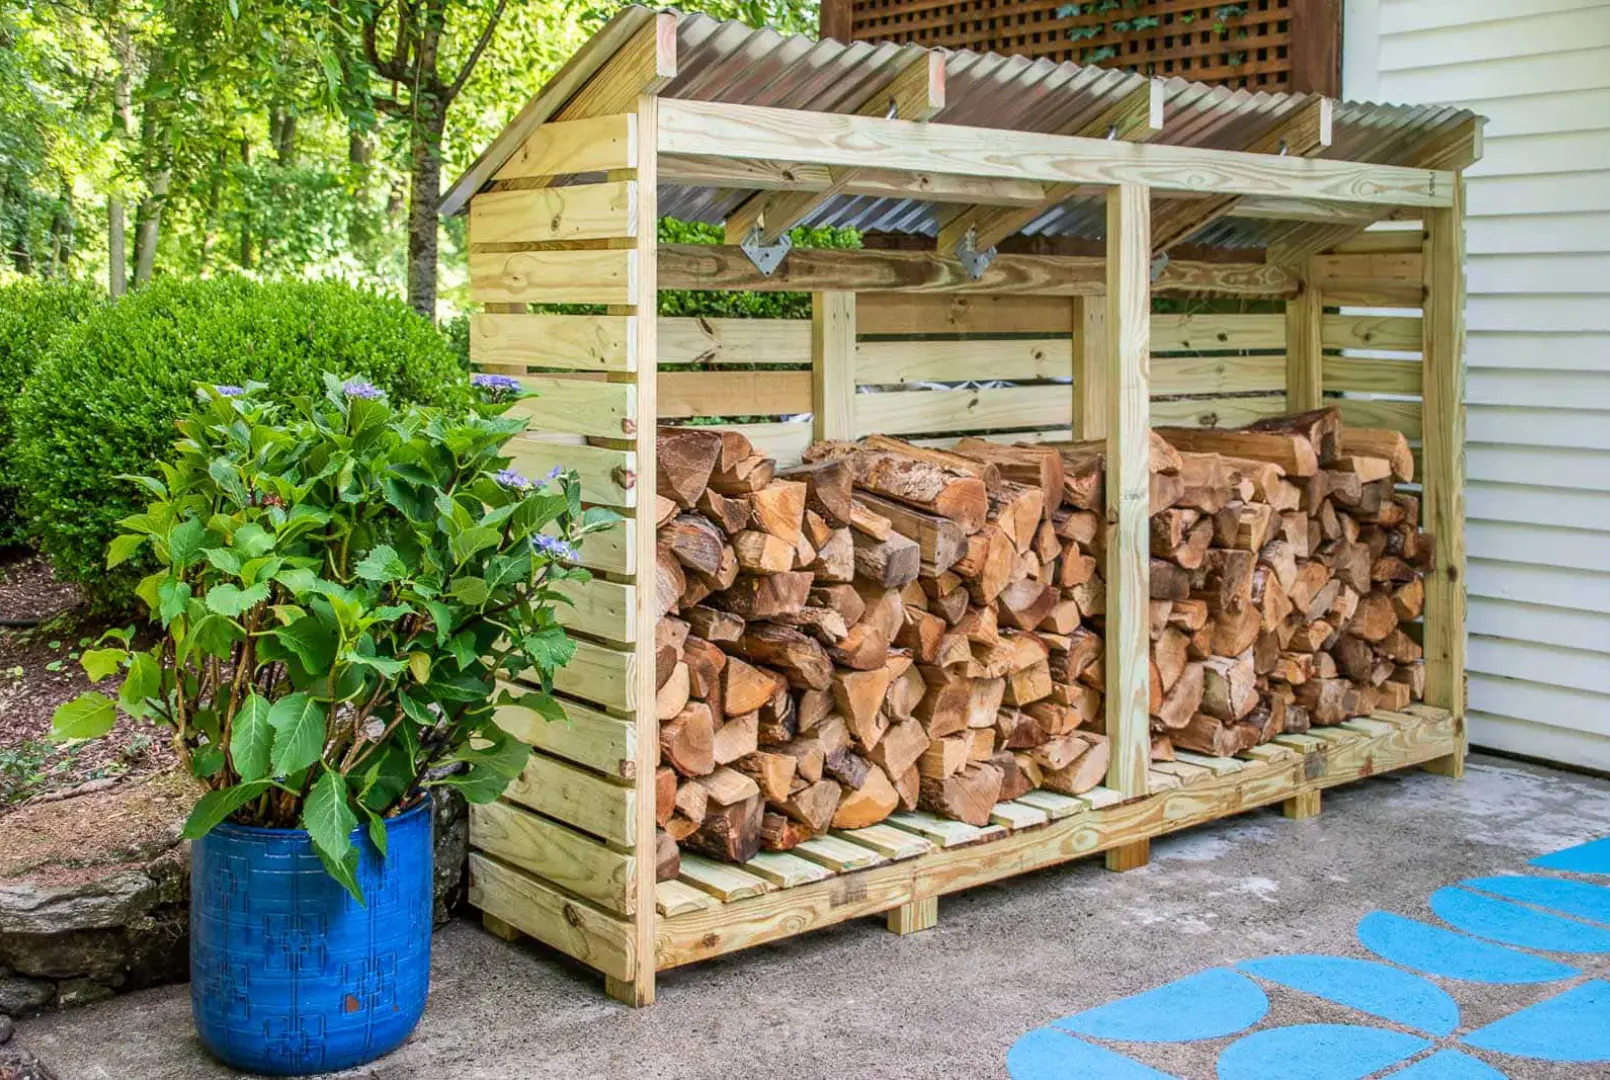
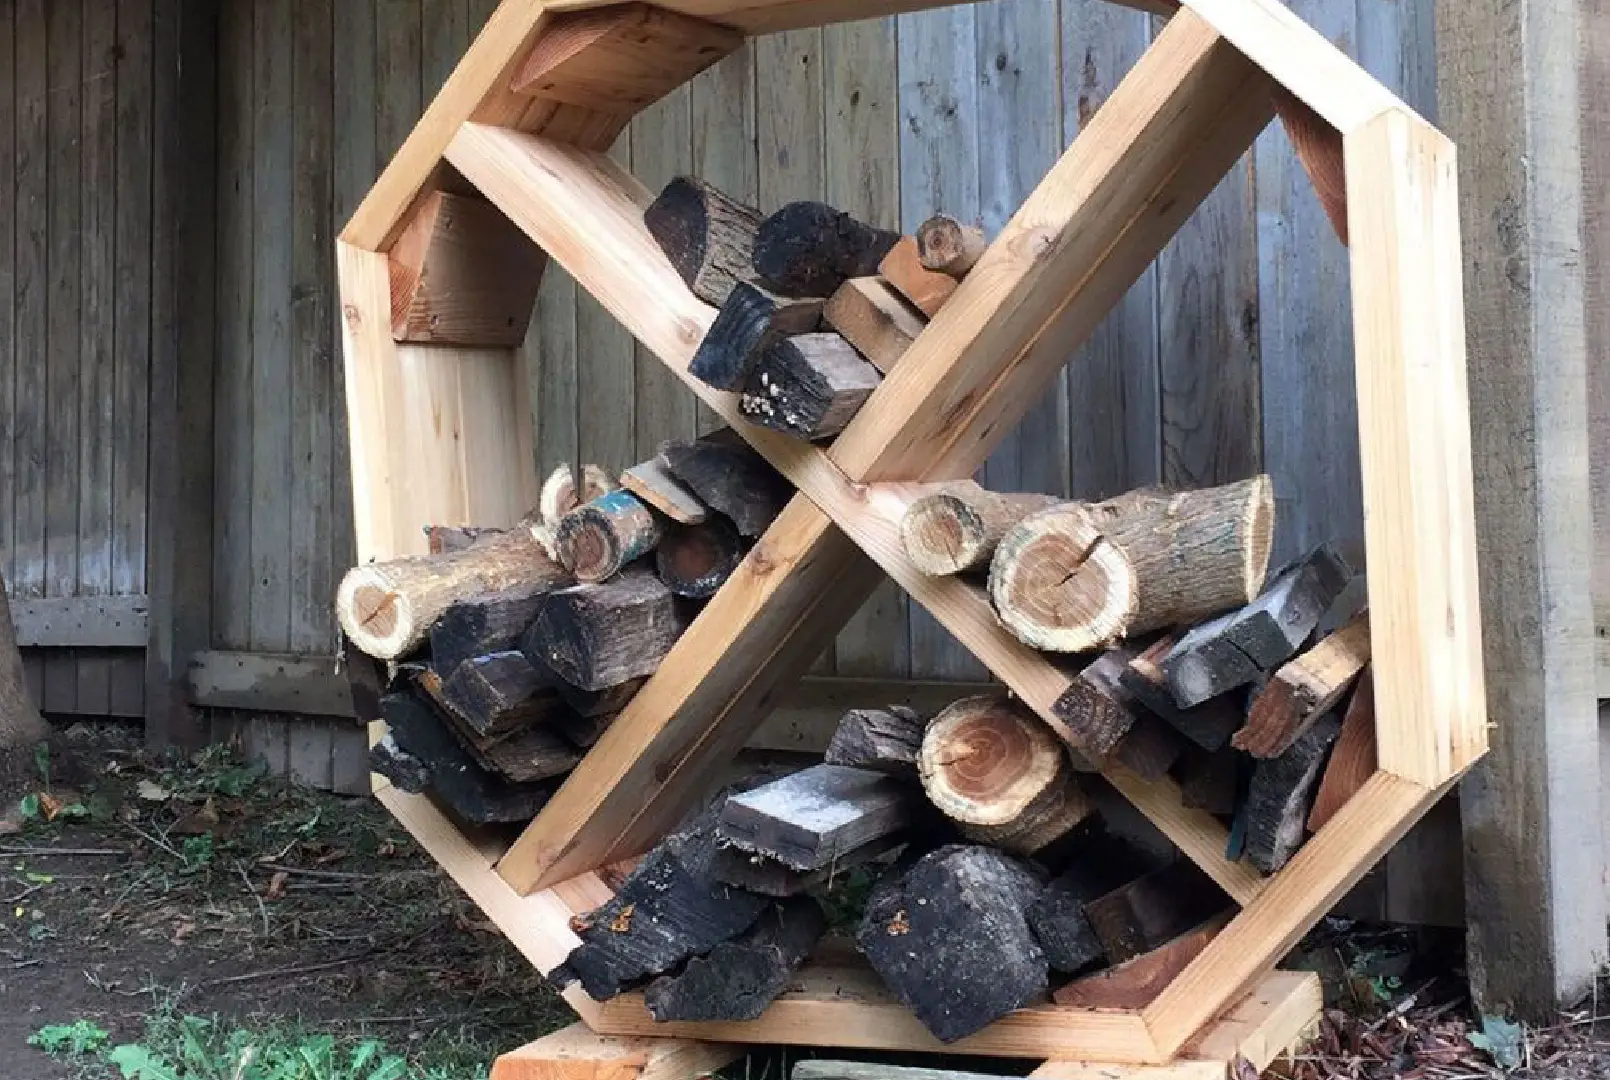
When it comes to prepping for cozy winter nights, nothing beats the warmth of a crackling fire. But storing firewood can be a challenge!
After years of piles toppling over and wood getting damp, I finally found the perfect solution: a DIY firewood rack. Not only is it budget-friendly, but it’s also incredibly easy to build.
Let me show you how to create this game-changing outdoor storage that’ll keep your firewood dry and ready all season long!
Benefits of Building Your Own Firewood Rack
Let me tell you, this rack is a game-changer! The elevated design allows air to circulate all around the stack, which is crucial for properly drying your firewood.
No more worrying about ground moisture seeping into your wood or pesky critters making a home in your pile.
Plus, it’s incredibly cost-effective and easy to build. You won’t need a garage full of fancy tools either – just a few basic items and you’re good to go!
Materials Needed
- 3 cinder blocks
- 2 landscape timbers (8 feet long)
- 2 treated 2x4s (10 feet long, cut in half)
- Optional: flat shovel for leveling ground
Step-by-Step Construction Guide
Preparing the Site
First things first, find a nice flat spot in your yard. If it’s not perfectly level, don’t sweat it!
I just grab my trusty flat shovel and do a little landscaping – shaving off high spots and filling in the low ones. It doesn’t have to be perfect, but reasonably flat will make your life easier.
Laying the Foundation
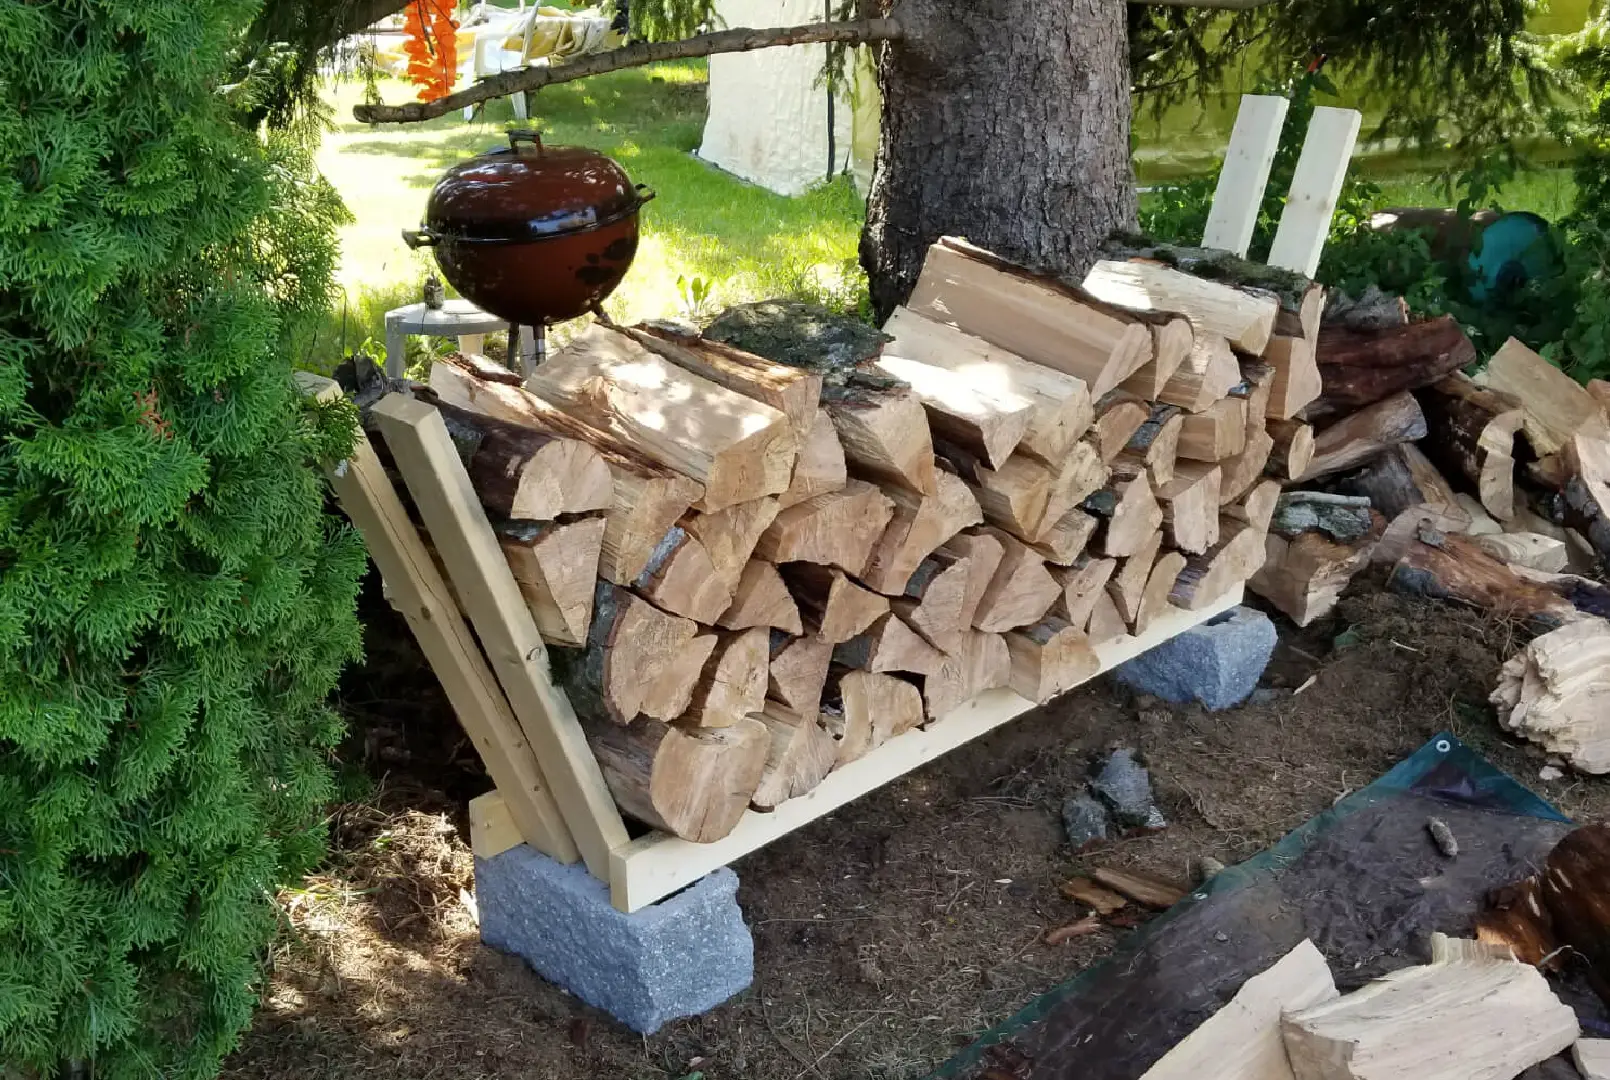
Now for the fun part! Place your cinder blocks 8 feet apart – this’ll be the length of your rack.
Pop that third block right in the middle at the 4-foot mark for extra support. Here’s a little tip: make sure the end blocks have their holes facing up, but turn that middle block sideways.
Installing the Landscape Timbers
Next, lay those landscape timbers across the top of your cinder blocks. I like to nudge them towards the middle a bit to reduce any wobbling.
Adding the Vertical Supports
Remember those 10-foot 2x4s? Time to cut them in half, giving you four 5-foot pieces.
These will be your vertical supports. Just slide them into the holes in your cinder blocks, and adjust the spacing until everything feels nice and stable.
Optimizing Your Firewood Rack
Ideal Dimensions and Capacity
This 8-foot long, 4-foot tall beauty will hold about one face cord of wood. That’s roughly a third of a full cord – plenty to keep you toasty through those chilly nights!
Proper Wood Stacking Techniques
Start with a solid base row, and stack your wood nice and tight for stability. But don’t forget to leave a little breathing room between pieces for air circulation.
Maintenance and Longevity
Protecting Your Firewood Rack
If you’re feeling fancy, you might want to treat those wood components to stand up better to the weather.
I like to give mine a quick once-over every now and then to check for any wear and tear.
Seasonal Considerations
In our house, spring is firewood stacking season. It gives the wood plenty of time to dry out before winter hits.
Aim for at least 6-12 months of drying time for the best burn.
Safety and Efficiency Tips
Proper Gear for Firewood Handling
Can we talk about gloves for a second? I recently discovered these amazing Atlas latex-dipped gloves.
They’re flexible, durable, and give you great protection without sacrificing dexterity. Total game-changer for firewood handling!
Firewood Storage Best Practices
Remember, keeping that wood off the ground is key to preventing decay.
Make sure you’ve got good airflow around your stack, and consider covering the top to keep the rain off.
27 Clever Storage Ideas


